Showing posts with label after. Show all posts

Thursday, October 27, 2016

SHABBY CHIC NIGHTSTANDS before and after with legs


 I found a quirky little pair of dark wood nightstands at the second hand store and brought them
home for a makeover. They had handles that went up and down in the very middle of each drawer,
it looked very odd. The white spots on the before photo are the holes from the original handles in
the process of being filled with wood filler.

I painted both in a creamy white mix of ASCP. I added little Queen Anne legs to the fronts and
the back legs are made from simple 2 x 2 lumber. All the legs I use are vintage reclaimed parts.


For more information on installing legs check here:
http://4theloveofwood.blogspot.ca/2013/11/tutorial-adding-legs-to-nightstands.html


The nightstands were nicely edge distressed with a 220 grit sand paper and clear waxed. 


?


Wednesday, October 26, 2016

GARDEN MAKEOVER BEFORE AND AFTER


I dont have a real garden but I did do some rearranging in the yard this past long weekend.
My sister gave me this strange little garden fairy (above) years ago and she moves from place to
place as things evolve. This spring she has taken up residence greeting visitors. Yes those are
her feet inside the hollow log, she came in 3 parts so you can play with her placement. Another
 thing that got a new place is my white iron bistro chairs, I enjoy stopping in the middle of a task and
 having a seat so I hope they will get more use in the new spot from where they use to be. I hope to
 share some more of my outdoor space with you when I can find the time to take some more photos.
I am the loyal recycler and most everything I used to create this new space was pieces I already had.
 
AFTER
 
BEFORE
 
For those who have not taken the house tour before please stop by to check out the inside:
http://4theloveofwood.blogspot.ca/p/our-house.html

There is some more information about my hedge found here:
http://4theloveofwood.blogspot.ca/2014/05/movable-cedar-hedge.html

Linking up with:
redouxinteriors
?


Tuesday, October 25, 2016

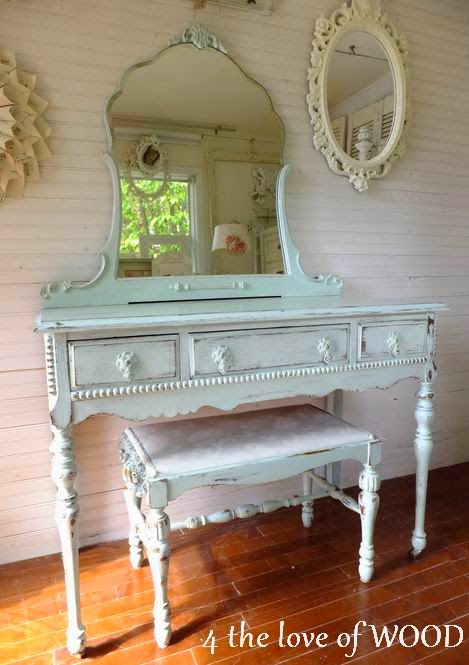
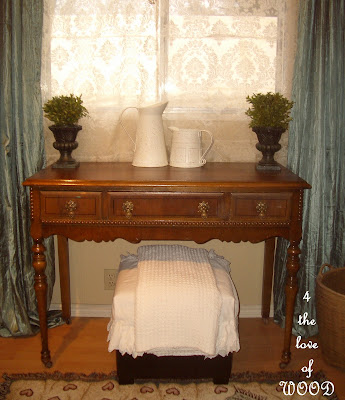
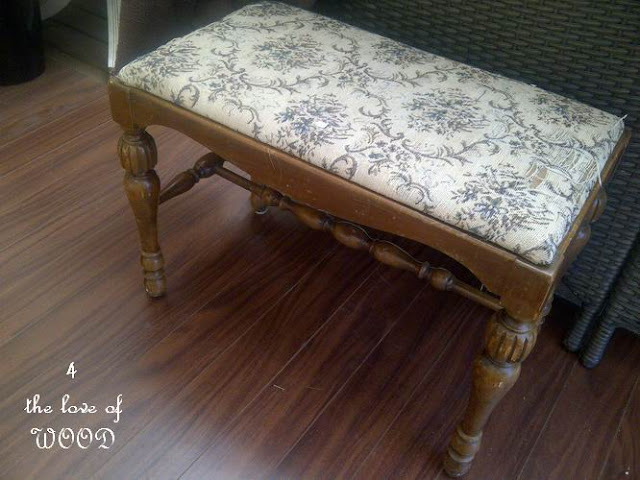
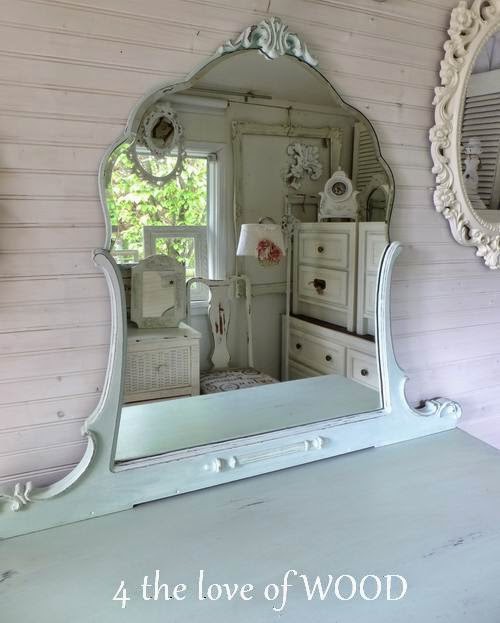
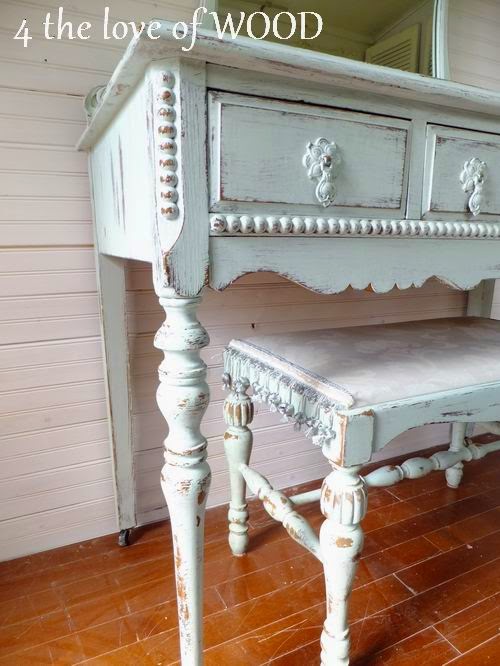
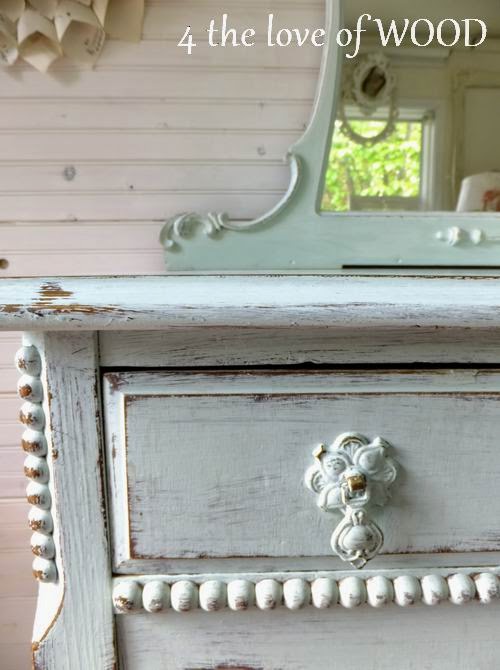
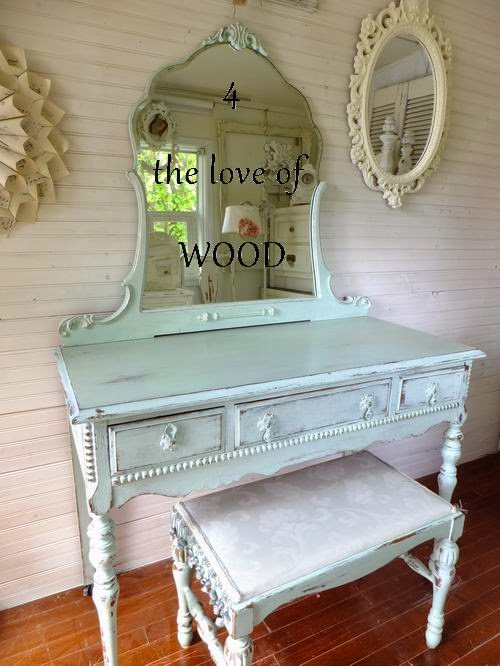
SHABBY CHIC VANITY before after


Today I have some fun before and after pics of a project I built. No I didnt build these lovely antique
 pieces but I built the set of them. Each piece, the desk, mirror, and stool are all different finds
from different times and places that I brought together and finished in a soft turquoise blue ASCP.


Friday, October 21, 2016

USING WALLPAPER ON FURNITURE shelf reveal with a before after


I moved into a little farm house years ago that had a super big
kitchen. The original cabinets were painted sunshine yellow
and someone added a navy blue celestial wallpaper on the upper
portion of the walls. It was HIDEOUS but that never discouraged
me against using wallpaper myself. When Im out picking I find
wallpaper in every thrift store I visit and our Home Depot sends
old stock and damaged rolls to the local RESTORE. Wallpaper
is a perfect helper to revive vintage furniture and on this project
I used 2 different ones, in 2 different ways.


First I used a vintage blue floral wallpaper to line drawer bottoms.


The second kind of wallpaper I used was some beadboard wallpaper to cover the damaged backer
 board. The backer was a pretty solid piece of wood but it had small holes and cracks.
The beadboard paper is thick and can conceals imperfections on a surface. I found mine at a thrift
 store, it was a partial roll, but Home Depot should carry it and Im told Lowes has it too.


I removed the whole backer board and applied the wallpaper in three vertical strips. I seamed the 
three strips behind the two uprights so you will never see an edge. Most wallpaper comes pre pasted
so I cut it to fit where I am applying it and then run the back side under the tap (warm water) to activate the glue. 

BEFORE                        AFTER

Keep your eye out for wallpaper you can use.


Saturday, October 15, 2016

ORNATE SHABBY WHITE BUFFET reveal with a before and after


This buffet has been perched in my back room
for five months longingly looking my way every
time I pass by to use the shower. I had huge plans
for it right from the beginning but the work was
going so slow while other things were also
demanding my attention. The final hurdle was
to refinish the inside, and make it look as good
as the outside.


I found some vintage striped wallpaper in a soft turquoise and I used it on the back panel. To match
 the rest of the cabinet interior with the paper I mixed some Annie Sloan Chalk Paint in Florence and 
Pure White and painted away.

  TIP: 
Remove your backer board to make it super easy to paint inside and wallpaper the backer.

The middle door seen in the above photo came fixed in place so I ripped it out and made it useable.
Seriously why did they make so many pieces of furniture with fixed panels back in the day?
The underside of the cabinet got beefed up with some lumber so I could install an incredible set of
 legs and get it off the floor. I filled the original hardware holes and installed a set of antique drop pulls.


BEFORE                       AFTER


Thursday, October 13, 2016

WHITE WICKER NO WAX before and after


This little wicker three drawer needed more than just paint, but once I finished the cleaning and the
repairs the painting started to make it look so cute and shabby chic. I used ASCP but did not wax the
wicker. Ive painted many wicker baskets with ASCP and they have held up just fine with out waxing
and I did not wax the wicker on this chest either. The top is solid wood and will get lots of use so I
 distressed and waxed it to protect the surface along with the drawer knobs which will get touched 
a lot. No wax also allows for the chalky finish to be a part of the shabby vintage look of the finish piece.


Thursday, October 6, 2016

BEFORE AND AFTER grey cabinet reveal


Many of our grandmothers had a glass doored cabinet
in their homes like the one I found at Value Village.
I can remember pressing my face against the glass
to see my Grams English tea cups sitting on the
shelves inside. My friends grandmother was
Hungarian and they had lots of Czechoslovakian
crystal on display behind glass doors.


BEFORE                   AFTER

This cabinet was handmade made probably by someones Grandad but in my hands it was going to
 get an update. I started by framing the bottom with a thick wood molding and added 4 cabriole legs.


I applied a paisley foil paper to the backer board on this cabinet and painted the interior
with Annie Sloan Paris Grey. The handles are an industrial style reclaimed pull and the
drawer was lined with a white wallpaper.


MORE DETAILS:

click this link for a video on how I created the silver grey driftwood finish:
http://4theloveofwood.blogspot.ca/2015/02/driftwood-finish-how-to-video.html

and the tutorial for the diy graphics on glass can be read here:
http://4theloveofwood.blogspot.ca/2015/02/diy-graphics-on-glass-tutorial.html